Recipe Details
| Batch Size |
Boil Time |
IBU |
SRM |
Est. OG |
Est. FG |
ABV |
| 6 gal |
60 min |
36.5 |
5.7 SRM |
1.065 |
1.011 |
7.09 % |
Fermentables
| Name |
Amount |
% |
| Pale Ale Malt 2-Row |
11 lbs |
73.33 |
| Wheat White Malt |
2 lbs |
13.33 |
| Oats, Flaked |
1 lbs |
6.67 |
| Wheat Flaked |
1 lbs |
6.67 |
Hops
| Name |
Amount |
Time |
Use |
Form |
Alpha % |
| Citra |
0.5 oz |
30 min |
Boil |
Pellet |
13.6 |
| Citra |
1 oz |
10 min |
Boil |
Pellet |
13.6 |
| Citra |
2 oz |
20 min |
Aroma |
Pellet |
13.6 |
| Citra |
2 oz |
3 days |
Dry Hop |
Pellet |
13.6 |
| Citra |
2 oz |
7 days |
Dry Hop |
Pellet |
13.6 |
Miscs
| Name |
Amount |
Time |
Use |
Type |
| Calcium Chloride (CaCl2) |
9.05 g |
0 min |
Mash |
Water Agent |
| Epsom Salt (MgSO4) |
3.14 g |
0 min |
Mash |
Water Agent |
| Gypsum (CaSO4) |
3.14 g |
0 min |
Mash |
Water Agent |
| Calcium Chloride (CaCl2) |
0.45 g |
0 min |
Sparge |
Water Agent |
| Epsom Salt (MgSO4) |
0.16 g |
0 min |
Sparge |
Water Agent |
| Gypsum (CaSO4) |
0.16 g |
0 min |
Sparge |
Water Agent |
Yeast
| Name |
Lab |
Attenuation |
Temperature |
| Safale American (US-05) |
Fermentis |
81% |
60.8°F - 82.4°F |
Mash
| Step |
Temperature |
Time |
| Temperature |
150.1°F |
60 min |
Fermentation
| Step |
Time |
Temperature |
| Primary |
14 days |
68°F |
| Aging |
0 days |
32°F |
Notes
| Water salt additions are based on distilled water as the source. If your starting water profile is different, you will want to recalculate the water salt additions. |
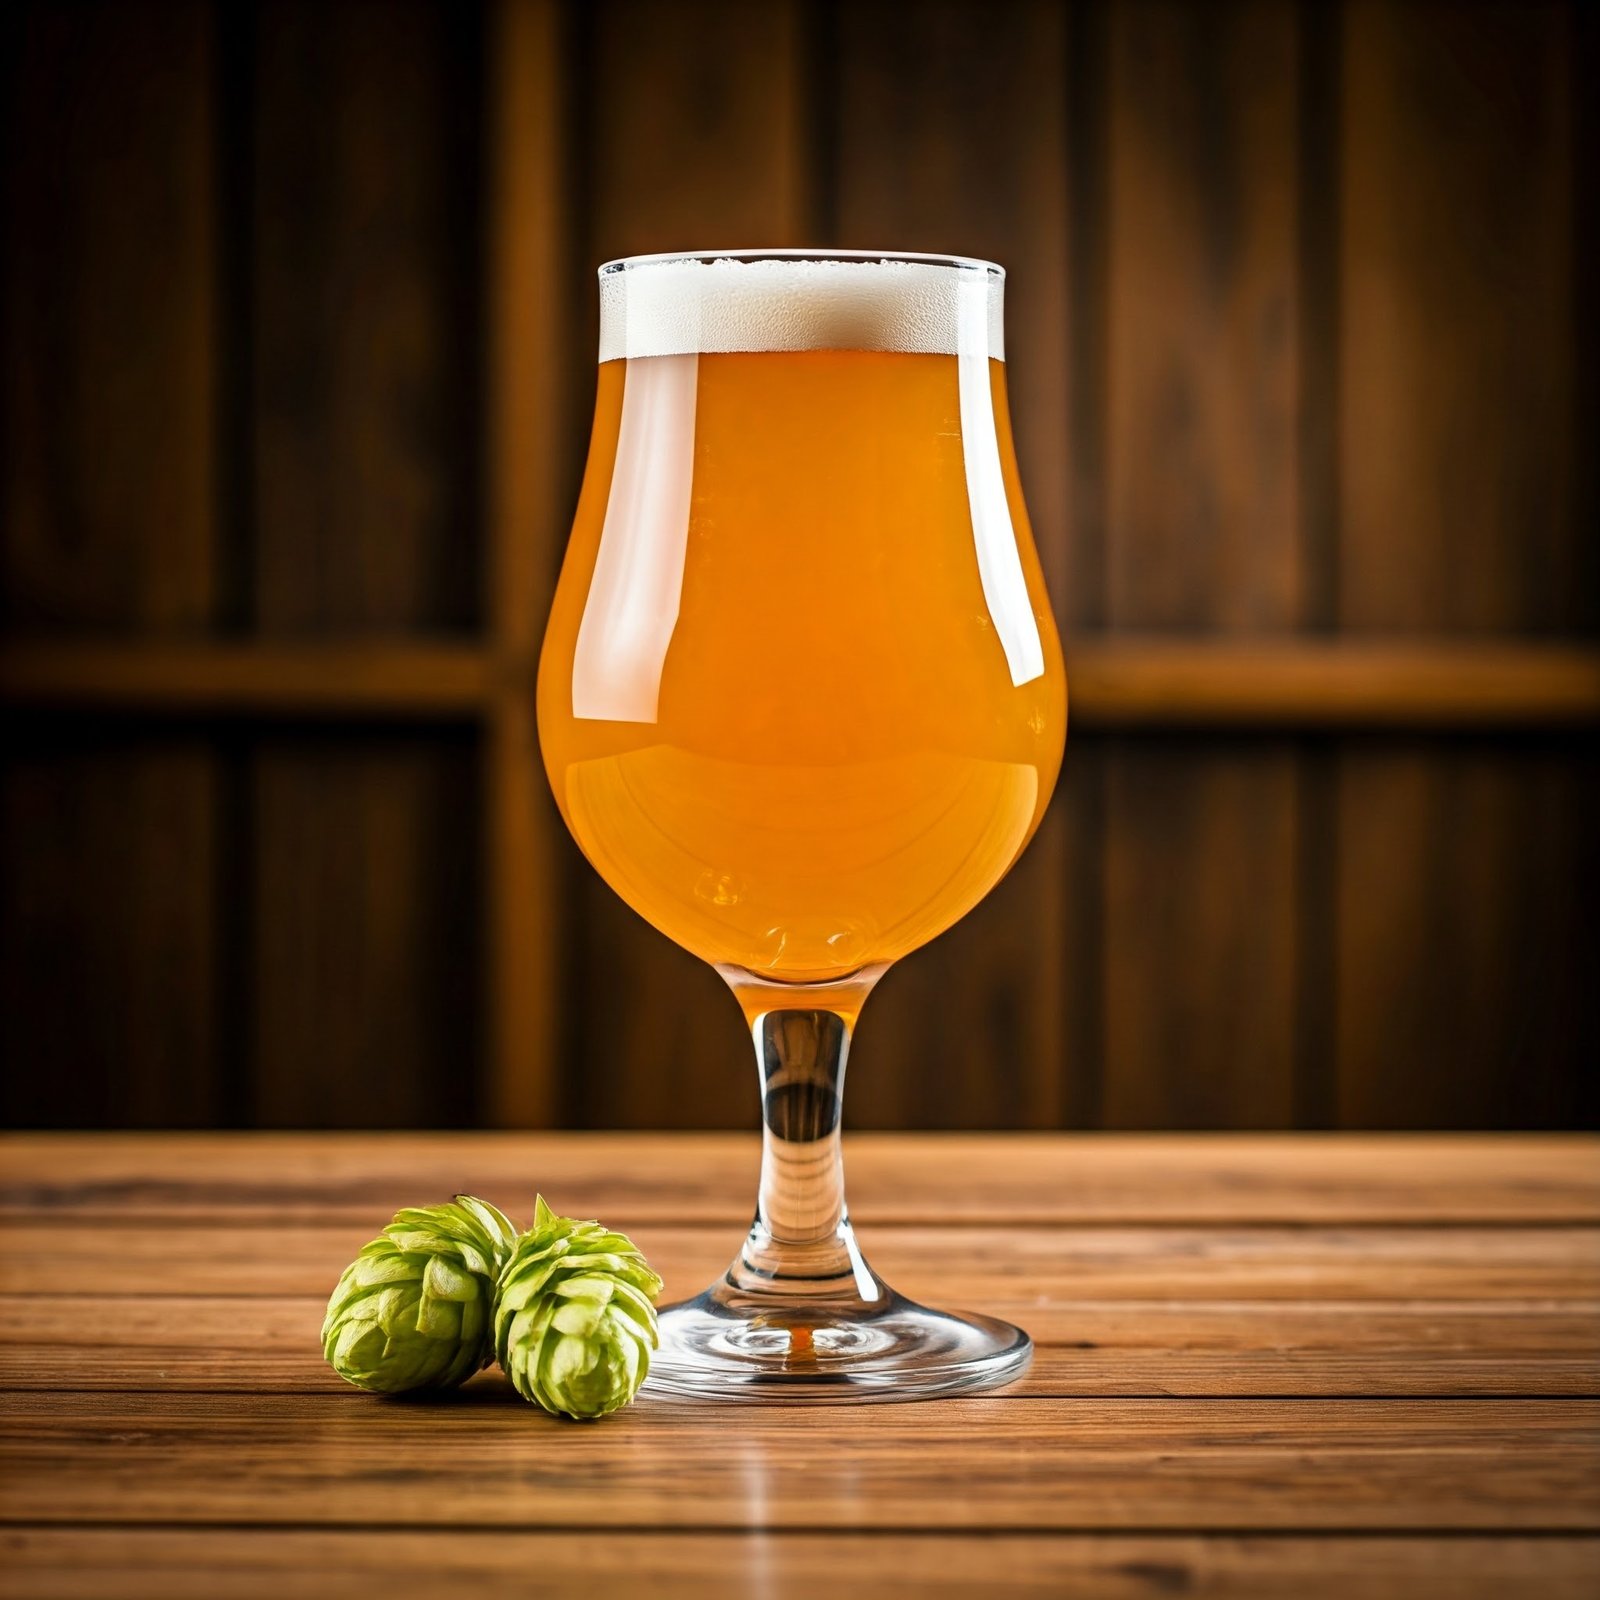
Here’s an easy but very tasty 5-gallon beer recipe for a Hazy IPA using 100% Citra hops
(brewfather link) (brewfather PDF)
Brewing Instructions
- Thoroughly clean all equipment – see Cleaning and Sanitizing for detailed instructions
- Sanitize all equipment that could come in contact with the wort/beer after the boil
- See Cleaning and Sanitizing for detailed instructions
- Keep fresh sanitizer in a container and a spray bottle to re-sanitize as needed
- After the brewing process is complete, and again after fermentation, be sure to clean and store all equipment so it will be ready for next time!
- Collect 8 gallons of strike water (recipe is based on using distilled or RO water):
- 5-6 gallons for mash, plus 2-3 gallons for sparge
- Heat strike water to 2-3°F above the desired mash temperature
- 5-6 gallons for mash, if sparging
- If using no-sparge or BIAB, heat the full 8 gallons
- Add strike water to the mash tun and slowly add grains, stirring constantly
- Maintain mash temperature (as noted in the recipe above) for 60 minutes
- If possible, use a pump to gently recirculate wort over the top of the grain bed
- If recirculation is not possible, collect approximately 1/2 gallon of wort from the bottom of the mash tun, and pour slowly over the grain bed. Repeat 1-2 times during the mash.
- After 10-15 minutes, collect a small sample of clean wort and check pH. Adjust with acid if pH is too high
- See Checking Mash pH for more detailed instructions
- Toward the end of the mash rest, collect a clean sample and check specific gravity (SG) with either a refractometer or hydrometer
- See Checking SG for more detailed instructions
- If sparging, heat sparge water to 170°F while waiting for the mash
- Sparge (unless doing no-sparge or BIAB) slowly to allow full rinsing of grain bed without channeling
- Collect wort in the boil kettle and begin heating
- See Mashing Techniques for more information on different methods, including Step and Decoction mashing
- Bring wort to a rolling boil
- Add hops according to the schedule above
- Boil for 60 minutes
- Cool wort rapidly to yeast pitch temperature, using:
- Immersion Chiller
- Counterflow Chiller
- Plate Chiller
- As an alternative, a “no-chill” method can be used.
- Once wort is chilled to yeast pitch temperature, transfer to the fermenter of choice
- Pitch yeast, being careful to maintain sanitization
- See Pitching Yeast for more detailed instructions
- Close fermenter and be sure to install airlock or blow-off tube
- Place fermenter in a dark location, making sure proper temperature can be maintained
- For most ale yeasts, a fermentation temperature of 60-70F is ideal
- For lager yeasts, lower temperatures (50-60F) are best – or pressure fermentation
- For kveik yeasts, temperatures from 70-100F are common, depending on the yeast strain
- For more information on temperature control options, click here
- Once fermentation activity has stopped, collect a sample (sanitize everything!) and check SG with a hydrometer
- Don’t rely on the refractometer, as your beer now has alcohol and will not get an accurate reading
- If SG has reached the target final gravity (FG), wait 2-3 days and check again
- If there is no more change in SG, then CONGRATULATIONS!!! You have brewed your own beer!
PACKAGING and CARBONATION
- Bottle, can or keg the finished beer, adding sugar if you are naturally carbonating
- For more detailed instructions, see Bottling, Canning, or Kegging
- For information and instructions about Natural Carbonation, click here
- If naturally carbonating, leave the beers in a dark location at room temperature (68-74F) for 10-14 days
- At the 10 day mark, refrigerate 1 bottle/can, then check the cold beer for carbonation
- Repeat this process for a few days until the desired carbonation level has been reached
- Once fully carbonated, refrigerate all of your beers.
- If kegging with force carbonation, follow the instructions here for Force Carbonation
- Now that you have brewed your own cold, carbonated, and delicious beer there is only one thing left to do – RELAX AND ENJOY!!!